Balangaz Here. Some things make or break a model, and with some help even the most mediocre paint job a nicely converted model will stand out.
Conversions are a bit tricky. You'll want to do them when you start to compare your models with others on the web and you feel very sad when you finish your first one. You see, practice makes perfect, but for conversions you'll want to stay away from that because you may feel that you are ruining you model. I did the first time I cut a hole on a tank (on purpose) but even bad conversions can be hidden with better ones.
Today we are going to talk about something that can hide even the worse mistake you made on a model tank. Today we give our salute - to camo nettings!
The Camo nettings
There are several things you can use to create a realistic camo netting, some are home-made and others are bought.
You can use a lightweight aluminum or plastic mesh. I believe there was even a tutorial with this material on WD back in 09 but I don't have it with me to be certain. The aluminum would be a better choice between the two of them since you can shape it to fit your tank, remove it, cut some strips of tape and create a nice looking net.

This is an example of camo netting one can buy over the internet, I found this on this site Build-a-rama
The price is not wrong and you will end up getting a nice product but I just feel that it's too much to pay for something I can do with some effort on my part. Of course I have a friend that will buy anything just so he can not scratch build something, so we have to give it the credit it deserves. The plus side is that you will get a product that delivers when you buy 'industrial' camo net.
Also, you can find them in the form of decals like this one that I found for a 1/35 tank at Bnamodelworld

They apply differently from what you might expect. You don't actually apply the decal while it's wet but you peel it off, wait for it to dry and then you place it onto a model. Never tried it and have to say that I never will.
Now, you ask, why am I not telling you how to create some by youself? I mean, if you guys don't know it yet I'm a little cheap, so why not share how you can get away with some decent looking, easy to apply camo net for your tanks
First, for the material, you get some medical gauze. I prefer to use the square one instead of the ones that come in a roll but either one is just fine and you will cut it to size, but after a few times applying it I noticed that when you wet it and apply onto your model it tends to shrink a little and since the square is larger you can just apply it and cut away the extra. Also, some art store acrylic paint, either green, brown or sand, depending on where your models are stantioned. I tend to use ocre yellow with some splotches of light brown or some brown wash.
What you do is you put some paint on a recipient and adds lots of water to thin it down, then you soak the gauze and leave it there. I use a few paints on my mixture but I don't mix them all so I can have several different stains on the net. You can leave it overnight and when it's done you just toss away the water and wait for the gauze to dry.
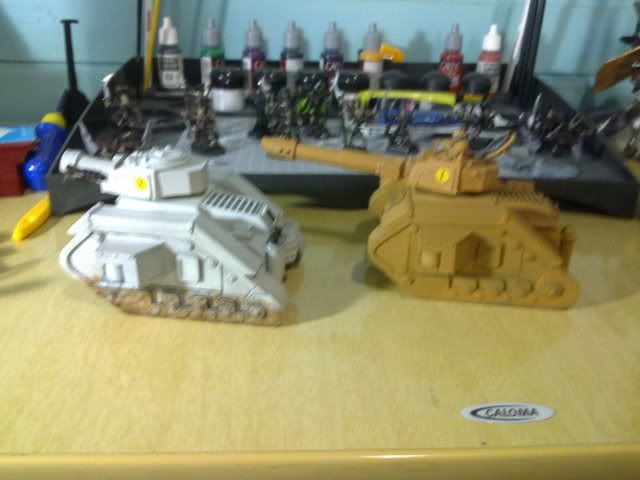
First time I tried using camo net on a tank I glued the net before painting the tank and it was hell, I had to paint each and every spot the tank was showing under the net, and as you can see the results weren't nearly as good as the stained gauze
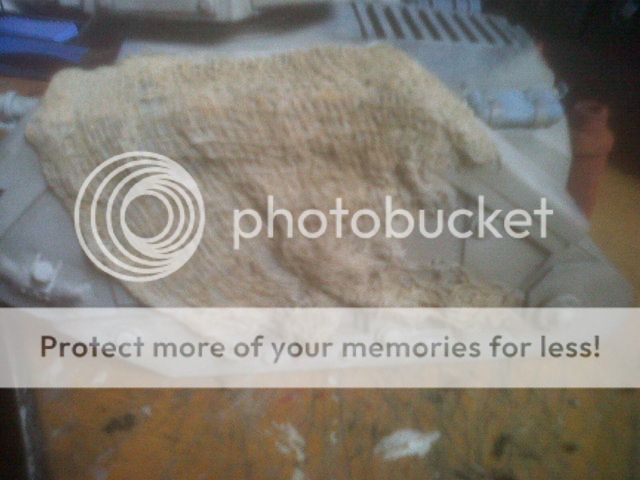
By staining the gauze it won't be hard since it doesn't have a lot of paint and you can place it on the model without thinking about how to paint it. This is what you end up with

Hope this helped some people and keep in mind this is just the basics on camo net as it can get much more complicated once we start with masking tape and airbrushes, but that we'll leave to another Thursday.
What you do is you put some paint on a recipient and adds lots of water to thin it down, then you soak the gauze and leave it there. I use a few paints on my mixture but I don't mix them all so I can have several different stains on the net. You can leave it overnight and when it's done you just toss away the water and wait for the gauze to dry.
First time I tried using camo net on a tank I glued the net before painting the tank and it was hell, I had to paint each and every spot the tank was showing under the net, and as you can see the results weren't nearly as good as the stained gauze
By staining the gauze it won't be hard since it doesn't have a lot of paint and you can place it on the model without thinking about how to paint it. This is what you end up with
Hope this helped some people and keep in mind this is just the basics on camo net as it can get much more complicated once we start with masking tape and airbrushes, but that we'll leave to another Thursday.